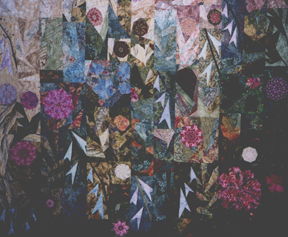
"My Ozark Garden"
A wash of sun and shadow,
the flutter of
bright wings;
A riot of hosta and cascading geraniums
and tousled
asters...
Monet would love it here!
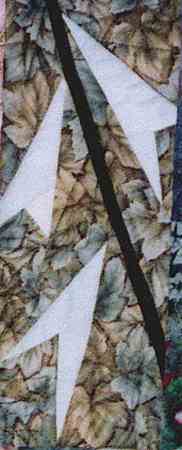
These became the design theme of the quilt--hosta blocks for vertical
emphasis, multi-sectioned geranium blocks, a variety of octagon Stack 'n
Whack type blocks for asters, and a variety of leaf blocks for foliage.
Several hummingbird blocks were added were added and Peggy provided the
rest of the "wings" in her quilting.
But all that was almost a year
away...
 |
 |
I am a "longarm" quilter. That means I quilt using a large quilting machine -- mine is a Gammill. The quilt top, backing and batting are pinned on to canvas leaders (at both the top and bottom edges) that are attached to long poles on a table with tracks. That provides a flat, taunt surface of the three layers over which the quilting machine moves on tracks. My machine gives me an approximate 12 - 15 inches by the complete width of the quilt as a working area. The quilting machine is then hand guided. There are no feed dogs, so the stitch length and design are completely controlled by the operator. Contrary to what a lot of people seem to think, it's not automatic or computerized.
First came the task of designing blocks--which also meant determining size, format and value patterns as well as the block designs themselves. I used Corel Draw on my computer because it allowed me to resize and layer the patterns as I worked. Some of the blocks were complex, but taken one section at a time, they went together easily as I tested them.
Needless to say I learned a great deal in the process because my experience with paper piecing was minimal up to that point. I did a lot of revising and simplifying. Probably not enough--as Peggy will attest....
 |
 |
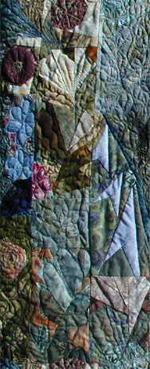
The quilt top was a good representation of an actual Ozark Garden! A riot of color and large variety of flowers and plants. All those seams became something else commonly found in Ozark Gardens -- ROCKS! There were times, I felt as if I was trying to quilt over boulders and attempting to get even stitch length was at times a lost cause!
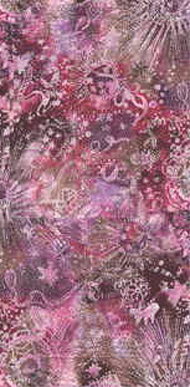
I learned to keep records of what I found where--because the fabrics often surprised us. Some of the most unlikely fabrics became the most useful--and then, of course, we needed more.
 |
 |
All of the quilting is free hand. I used no patterns on the quilt. For the border designs, I used chalk to mark the vine and measured and marked the spacing for the leaves so that they would appear fairly even.
A gamble? Yes. But it paid off handsomely, because members returned blocks in color, fabric and value combinations that I would never have thought of.
 |
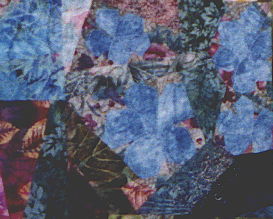 |
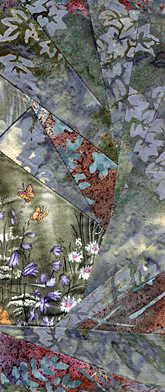
There are several butterflies and at least one dragonfly on the quilt. I lost count after a while. In some areas I quilted actual leaf designs while in others I used the design shapes in the piecing to represent leaves and petals. There are cattails in one area and lily pad leaves in the water. I let the designs that occurred in the fabric of the flowers dictate the quilting, trying to do them all as differently as I could while maintaining a balanced look to the top so that no one flower stood out from the others. If I had to do it over again, I would put more bugs and butterflies on the quilt and I would add some fish to the water area. I would quilt the "water" lines differently too. I think that by the time I got to the bottom of the quilt, I was nearly "burned out" and not thinking as artistically as I could have been!
It was pinned in vertical strips and one work day saw it almost finished and the papers removed. It did take a while to figure out that one of the "square" blocks had been sewn in sideways and that what was making things hang funny...
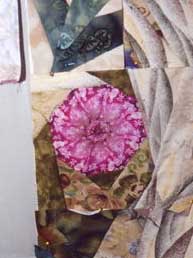
All blocks that had been made "auditioned" for a place in the quilt. (My favorite didn't make it...) Extra blocks made small "Publicity" quilts, and extra fabrics found uses too.
 |
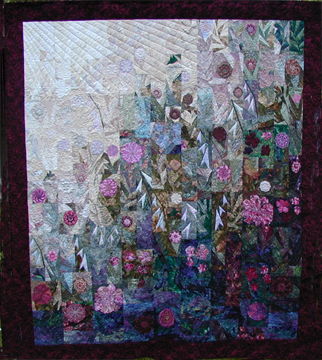
I had "My Ozark Garden" on my quilting machine for nearly two weeks. I spent approximately 30 hours on the actual quilting and many more hours worrying about it! I was pleased (and greatly relieved!) when I completed the quilt but very concerned about how the guild members would feel about what I had done to their quilt!
To see that Peggy's quilting had captured the spirit of the design and made it a quilt to look at again and again, was a true pleasure.
To have it accepted at Houston and then win a second place award was thrilling for all of us. There were many people creatively involved with this quilt--some of whom had never participated in a group quilt before. The true credit goes to all of them. It is a much better quilt than I would have made by myself!